The unsung hero of the interior design world, a well-laid floor can transform a room from lacklustre to luxe in no time – which is why they’re worth protecting.
Taking care of your laminate, wood, or vinyl floor will help to increase its longevity, saving you the money required to replace it. Keeping your floors in good condition is also vital if you’re considering selling your home; scuffed and scratched floors make a room look shabby, untidy, and dirty, and might just be putting buyers off.
If you’ve started to notice that your floor isn’t looking quite as smooth and shiny as it once did, here’s everything you need to know about preventing scuffs and scratches or fixing them if they appear.
What causes floor scuffing and scratching?
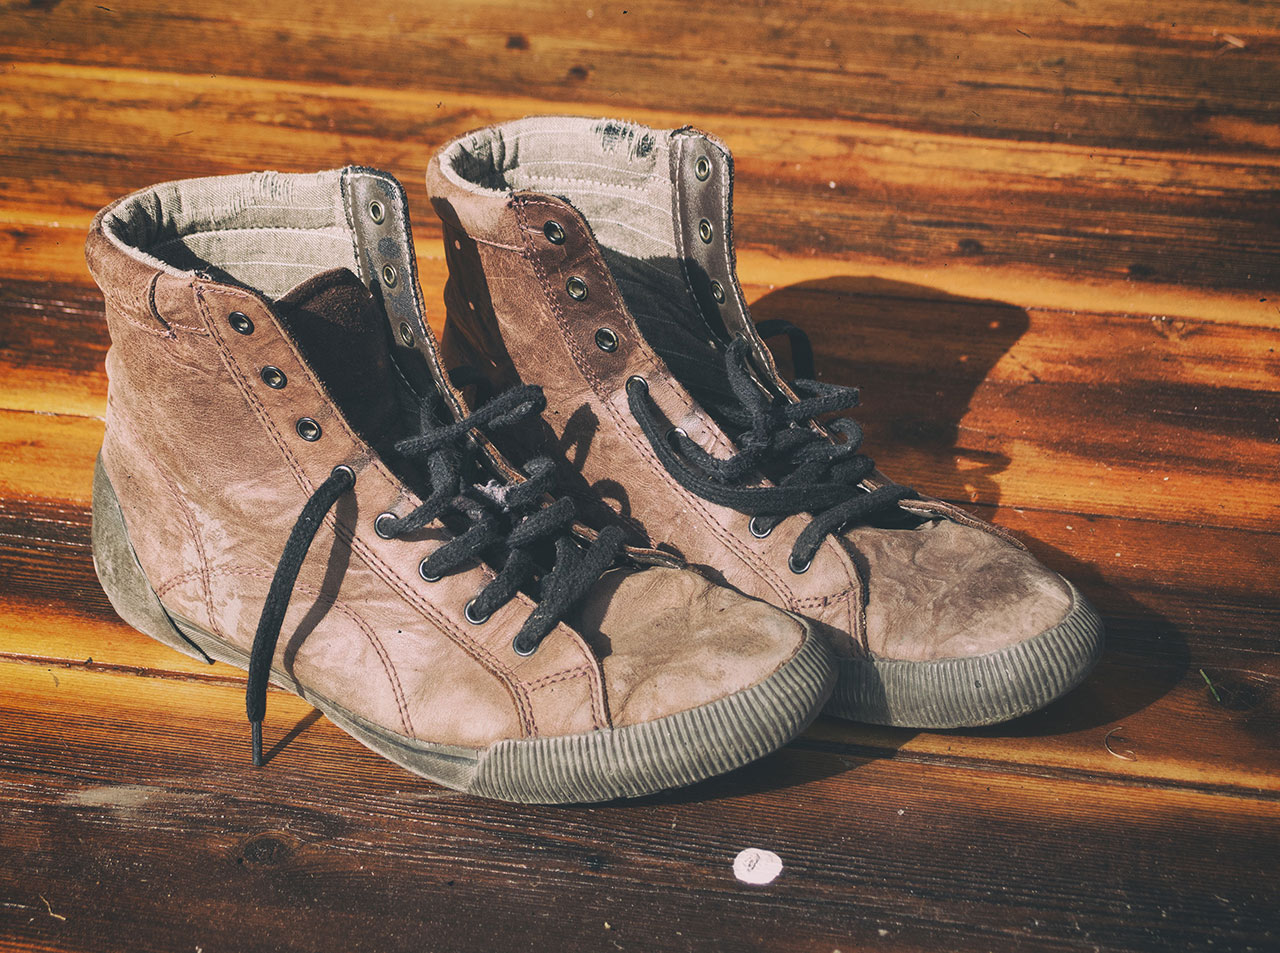
There are a whole host of things that can cause damage to your floor but we tend to find that the number one offender is shoes! Black soled shoes – particularly those soled with rubber – are one of the main causes of the dark scuff marks we tend to see on wooden and laminate flooring. Similarly, heeled shoes and hard-soled shoes are all guilty of causing denting and scratching.
Apart from shoes, hard-legged furniture, wheeled office chairs, children’s toys, and pet claws can also cause annoying marks. That’s not to say all these things need to be banned from your home though! There are plenty of ways you can prevent all of these factors from doing damage.
- Remove footwear in the home – Okay, we know we said you didn’t have to ban things from your home but asking your family and guests to remove their shoes before they come in really is one of the easiest ways you can protect your floor. A nice shoe rack by the door will prevent your hallway from becoming a shoe mountain.
- Save your soles – If you’ve got any forgetful family members or if taking off your shoes in your home isn’t possible, sole protectors can be an effective way of keeping your floors safe. Easy to apply, these adhesive stickers go on the bottom of your shoes and provide a barrier between your floor and any soles that tend to leave scuffs.
- Furniture protectors – One of the biggest causes of scuffing and scratching is furniture being dragged or pushed across the floor. Luckily this is an easy one to protect against; a few low-cost furniture leg caps or pads will avert any damage.
- Mats and rugs – Rugs can also be great protective barriers. Placed under any moveable furniture such as dining sets or office chairs, as well as in high traffic areas like hallways, rugs will prevent your flooring from sustaining damage on a daily basis. If you have wood or vinyl flooring in your child’s bedroom or playroom, play mats are also great for stopping damage inflicted by toys.
- Give your pet a manicure – A frequently heard complaint is scratching caused by overlong claws. Making sure your pet’s nails are clipped frequently should prevent unnecessary scratching while cleaning their paws after they’ve been outside will stop them bringing in any dirt or grit that might mark your floor.
How to remove scuffing and scratching
Of course, we can’t prevent against all eventualities and, sometimes, accidents happen. If you have noticed a particularly eye-catching mark or scratch on your floor, here’s how to fix it depending on what floor type you have.
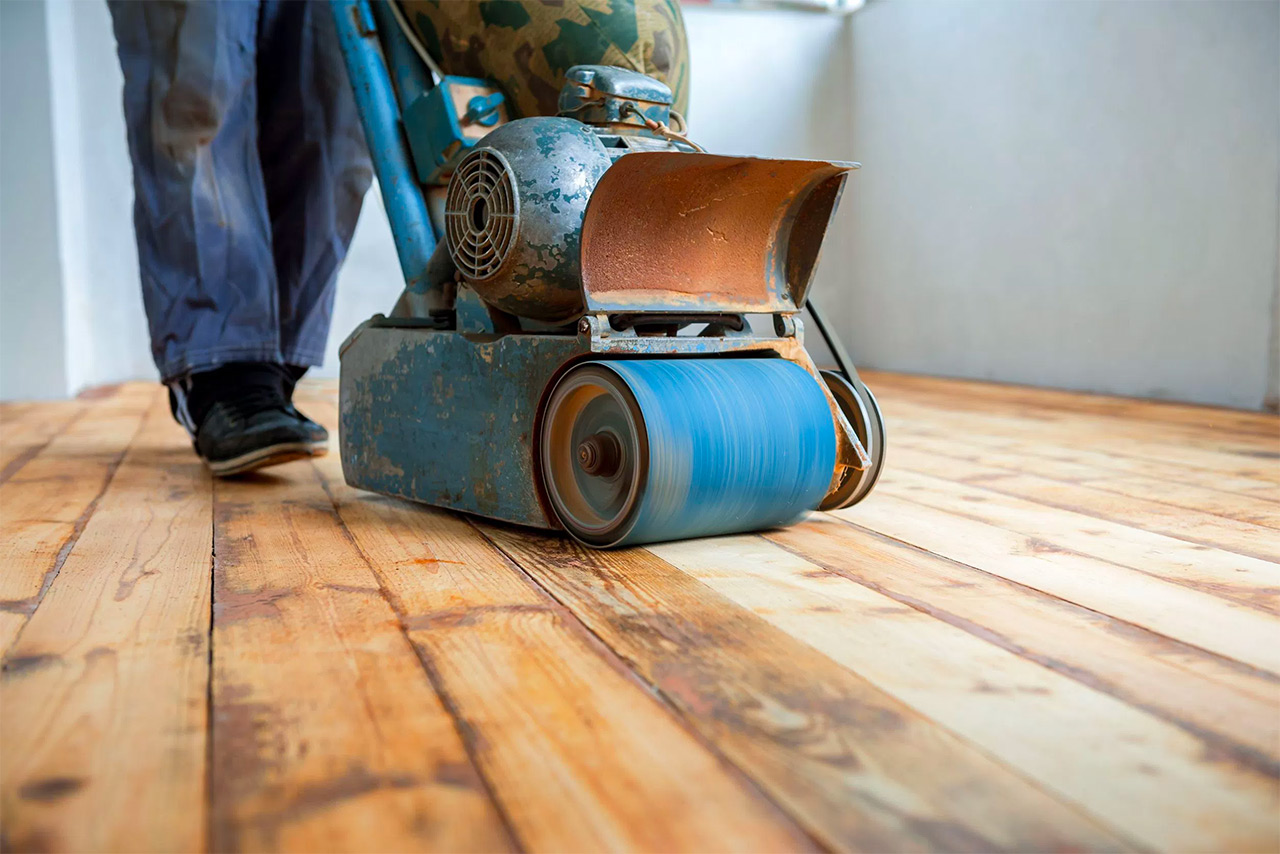
Wood floors – Wooden flooring is probably the easiest to treat because any stubborn marks can always be sanded out and varnished over. Before you reach for the sandpaper though, try a few gentler methods first; black marks will often come up with wet kitchen roll and a little elbow grease. If this doesn’t work, white pencil erasers and tennis balls have all been reported to be great for removing stubborn marks.
For scratches, wood staining markers can erase all trace of shallow lacerations while wood filler might be required for deeper scoring. It can be tricky to get the finish blended and even however, so it can be a good idea to hire a floor repair service if you have an expensive hardwood floor.
Laminate floors – Laminate flooring can be a bit trickier to treat as only the uppermost layer of the tile is coloured, and sanding can end up just revealing more of the fibre boarding underneath the surface.
White erasers and tennis balls work equally well at removing black scuff marks on laminate flooring but any scratches will need to be treated with a laminate touch-up kit. Normally consisting of a coloured marker, filler crayon (or putty for deeper scratches), and a finishing varnish, touch-up kits are easy to use and can deal with the majority of scratches. The coloured marker can be enough to disguise shallow scratches but deeper ones should be filled, sanded lightly to get rid of any excess, and then varnished.
Vinyl floors – Treatments for damage to vinyl floors can vary depending on what sort of vinyl you have and how it has been installed. For example, tiled vinyl can be extremely easy to fix as the offending tile can often be easily lifted and replaced.
If you have sheet vinyl however, liquid seam sealer should be able to handle most cosmetic damage. If your vinyl floor has been scratched very badly however, or burnt or torn, it is possible to patch up damaged areas. You’ll need to get hold of a piece of vinyl to match the exact piece you’re lifting; placing it on the damaged area and cutting around it can be a good way to ensure a perfect fit. If your vinyl floor is fully adhered you might need to scrape up the damaged piece, while perimeter bonded vinyl should come up easily. Then all you need to do fill the gap with mastic (and under surrounding edges if working with perimeter bonded flooring), place your replacement vinyl, and weight it down for around 24 hours to dry. Finish off with liquid seam sealer and you shouldn’t be able to see any difference between the old flooring and the new.